Sunday, December 21, 2014

As you can see for the pictures, we needed to take a break for cookies!  Christmas cookies decorating is an annual event with our neighbors so we are a bit behind on the postings.
     The hard chines are in place and we put walnut plugs in the screw holes for a color contrast. 
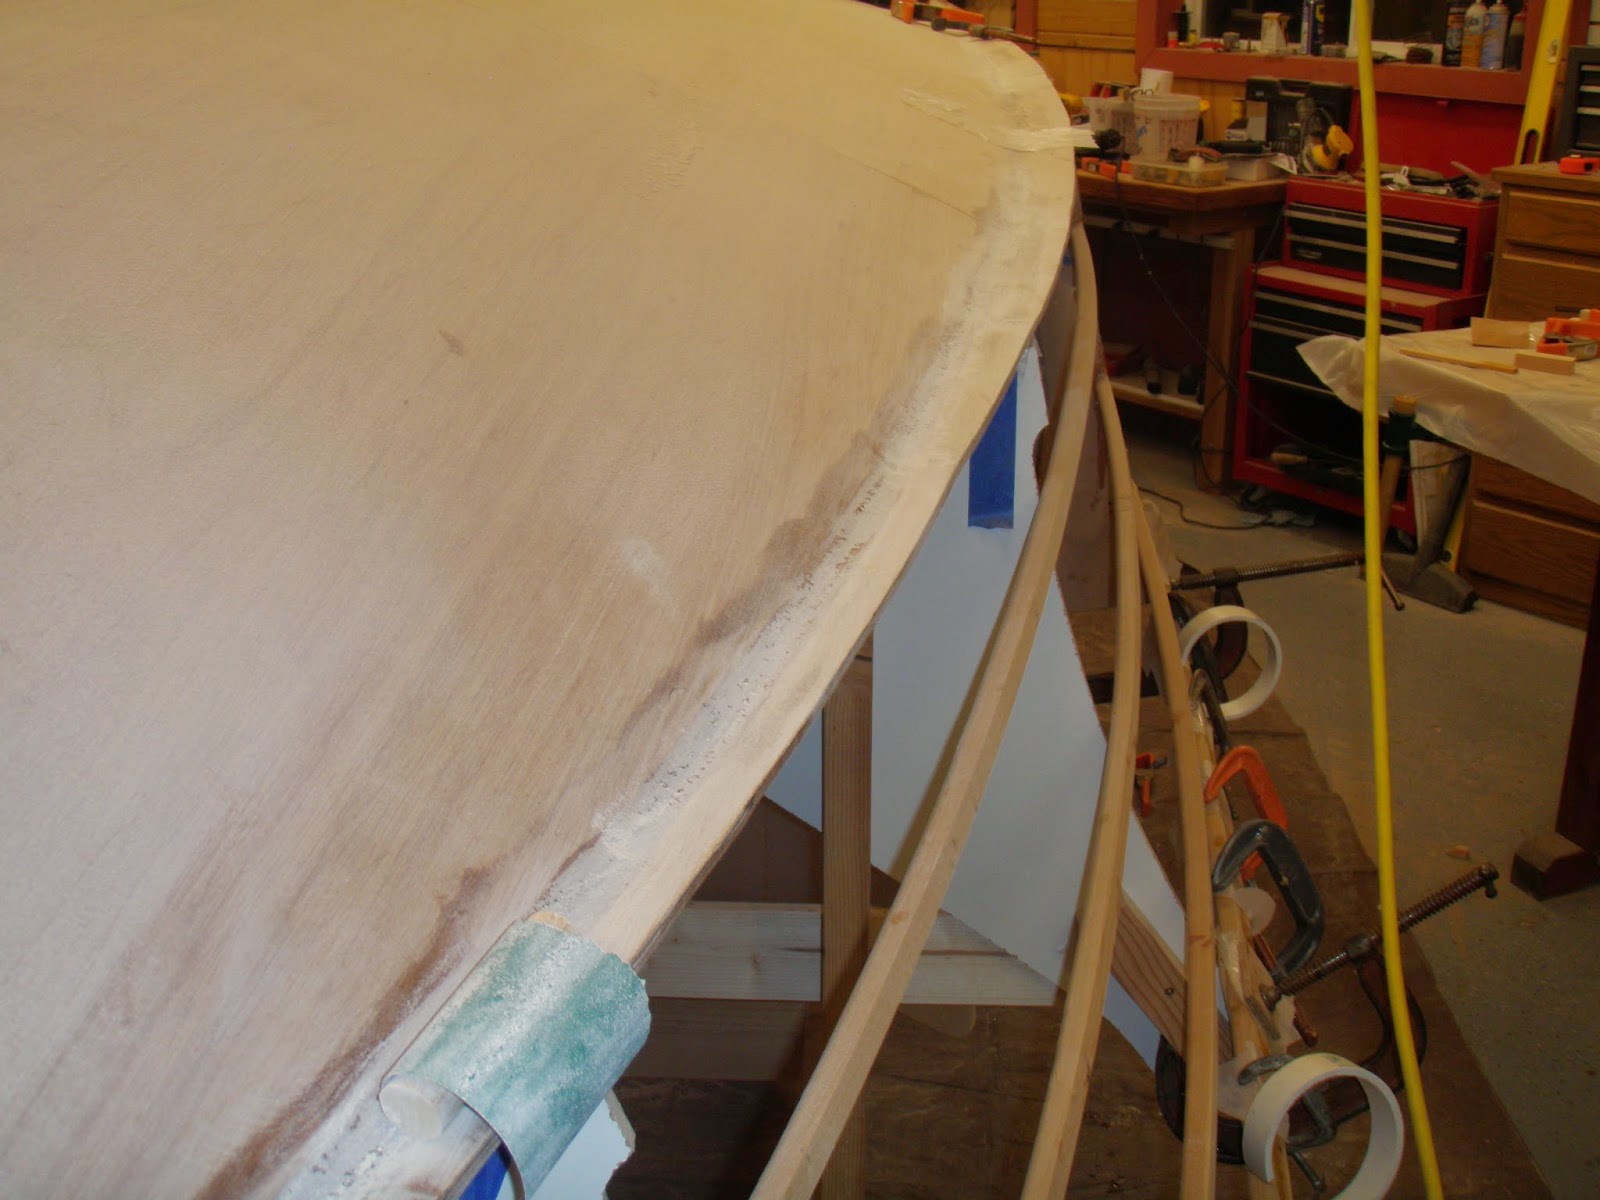
     There is now 10 oz fiberglass cloth on one side of the bottom and one side of the hull.  Fiberglassing is a huge job because of the size of the area being worked, so we were thankful that our friend and expert in fiberglass, Campbell Massey, could come help us with the job.  He gave us some very good pointers, plus it was very helpful just to watch him work.  He uses techniques which are very valuable.
     The next part of the project is rather boring.  It involves a lot of sanding and fairing, to get the hull ready for painting.  So pictures won't show much until we get to the painting.
     Happy Holidays to all of you blog lookers, and stay happy and healthy in the New Year.


Saturday, December 6, 2014

The laminated plywood siding material is done now, and it is looking more like a boat, (upside down).  We continue to be impressed with the wonders of the plastic staples and stapler.  It allows us to minimize the depressions created screws.  We have started working on the exterior chines.  We decided to use Ash for them and now we are sorry we didn't have it when we were making the inners, as Ash bends very easily.  We would have saved ourselves a lot of headaches and frustration.  Now we know!  The next step will be to attach the exterior chines and start working on faring the hull.  This all needs to be done in preparation for fiberglassing the hull.  We just ordered another 10 gallons of resin, bringing the total up to 16 gallons.
The questions we continue to ask ourselves are: 1-"How are we going to turn her over?" and 2-"What color are we going to paint her?"  Does anyone have any ideas on either question?


Wednesday, November 26, 2014

We are finally feeling good about the progress we are making on the inners and gunnel pieces.  It is positively a two person job and it sure helps to have a wife willing to help!  We broke a lot of pieces but they


made a lot of kindling for the wood stove.  This morning we put the last piece of inner on, which is a very good feeling, as that part of this boat building project was not fun! We have the chine flats made and ready for fiberglass. We attached three siding pieces which was a great success.  We wanted to see how the plastic staples held when attaching the siding to the frame.  They are wonderful and we are so glad we took a chance on them.  The staple gun is a great tool-light and easy to handle.  You do have to make sure you clean it well after each use to get the fiberglass off.  Anyway, we are looking forward to putting on more siding when the frame pieces dry.  In the meantime, Happy Thanksgiving and eat lots of turkey!

Wednesday, November 19, 2014

This has been a frustrating week of boatbuilding in the Bacon shop.  There have been material issues compounded by the complexity of the design of the bow section.  We have not been able to find good clear Douglas Fir, and as a result we have broken many pieces trying to get them in place.  The pieces we are trying to place are the areas where the sides meet the deck.  We think these are called Darwall stringers, or shear. (  We don't always know the correct names for stuff, but does it really matter?)  We have been trying the steamer, and it does help, but mostly it is a case of " put on; break;take off ;put on, break;take off.  We even checked on the West Coast for 2X6's of clear Douglas Fir, but the prices were out of sight-more than $300.00. Yow!  We are now trying other options-laminating pieces together to avoid the knotty parts on the wood we have.  We are also trying splicing shorter pieces together, and using the steamer.  We will find a viable solution, I am sure, but it is frustrating.  But--whoever said that boatbuilding is easy?  The picture enclosed is of some of the parts we have steamed and are clamping in place.  We attached some of them this morning and added a few more to attach tomorrow.  We are also going to check out another small saw mill nearby to see if they might have some clear wood we could use. 

Wednesday, November 12, 2014

With two chines in place, the next step was to make a template for the bottom bow section.  A template is necessary because there is so much curvature to the bow.  We used a product called VG Centurion Olympic Cedar paneling. (Cheap and Ugly)  This is shown in a picture.  The template bent a lot easier than the plywood!  Fitting the bow section was very stressful but we finally got it in place and attached.  The next bottom pieces on the first side were pretty easy to fit and attach, but then came the other side which was much more difficult.  We finally got the bottom sections on.  However, it was quite exciting when one of the chines let loose from the stem and one of the frames.  After panic and a few swear words we were able to repair the problem with the help of many clamps and fiberglass.  We were also glad that one of our carpenter friends was visiting us at the time so there were three people to help.


We discovered that the use of three heavy duty cargo straps with tightening mechanisms was a great help.
    We put weep holes in the stringers so that water will be able to travel to the stern and then out the back.
The next step will be to prep the bottom for fiberglass cloth.

Tuesday, November 4, 2014

Today is voting day-hope everyone voted! 
The keel and stringers are permanently in place now.  It took 60 pieces of 3 inch fiberglass tape to attach all the stringers to the frame.  It worked well to have one person wetting down the tape with fiberglass and one person putting the tape where it needed to go.  We finally figured out how to make fillets and it is for sure a two person job.  The best way for us to make good fillets is to use a cake decorating bag filled with fiberglass and silicone filler. 
It is an adventure shaping and cutting the 23 foot long Doug FIr timbers.  They have more knots than we had hoped, so we are going to try laminating pieces for the chines. There is now a lot of detail work getting everything true-lots of sanding and shaping.
  The chines have to bend and twist-it is a bit scary bending and twisting them, but we have done one, as shown in the picture and it didn't snap (yet)!  We will laminate the two pieces together to make it stronger.


Friday, October 31, 2014


Today is Halloween, and the boat is coming right along.  The frames are all in place, and we are fitting all the stringer pieces.  Before the day is out they will all be assembled.  The permanent installation of the stringers will then be the next step.  We are also fitting the keel today.  Boat building is a lot more fun when the large object in the middle of the shop starts to look more like a boat!  It is really fascinating to see how all these pieces go together.
Looking at the project at this stage, we are reminded of the preference on the Atlantic coast for fairly narrow-beam boats.
Lots of progress today-a few mistakes to correct-it is always good when you can pick them up early.

Tuesday, October 28, 2014

We are back to work after a trip to northeast Montana where we had a good visit with our son, Mathew, but didn't see many pheasants.  When we got home, we went in to the freight depot in Missoula to pick up our order of Akumi plywood.  We also had ordered 2 X6 Douglas fir boards 23 feet long from a local saw mill.  These two boards are for the chines.  The operator did a lot of extra work for very little money ($47.50) total.  He had to select the log, make sure it was relatively clear, cut the boards, paint the ends to keep them from splitting, and wrap them in plastic to keep moisture off them.  It was so inexpensive we added a bit for a thank you.  So, now we have the plywood and the boards stored in the lower garage and we are ready for lots of entertainment!
All of the frames and the keel should be in place by the end of the week.  Today we did a bunch of fiberglass adhesive work.  Things seem to move right along when you start working at three A.M., which is not to be recommended.
Oh yes, when we were over in Glasgow, Montana we found a great buy-a used boat trailer in super condition for a good price, and we towed it back here for the new boat.


Monday, October 20, 2014

We will be taking a short break from our boat building project, since we are waiting for the next shipment of plywood to arrive in a week or so.  We are going pheasant hunting in eastern Montana for a week, so won't be writing any posts during that time.  We will start up again when we return, and hopefully the plywood will arrive about the same time we get home.

Sunday, October 19, 2014


We just finished laminating two pieces of plywood together-one 3/16 and one 3/8.  This is for the transom.  We are also attaching side stiffeners to most of the frames.  When we laminated the stiffeners to the frame we discovered that there were some accuracy issues.  Cutting some of the chine notches before we put them together was not the best way.  Next time we will cut the notches after doing the frame laminations.  We keep learning!  We needed to improvise a bit when laminating the transom pieces to weight them down till they set up.  Buckets full of sand did the trick!  We had to start a fire in the wood stove to keep the shop warm enough for the resin to cure.  The resin went off a little fast because of the temperature (73 degrees F)

Saturday, October 18, 2014

This is a new experience fo us because the construction of plywood boats has changed a great deal in the last decade.  The initial construction takes place with lightweight, fairly thin plywood.  The structural part of the boat is put in place with layers of fiberglass cloth.  This technique reduces the weight of the boat, and you can also add considerable curvature to the shape.  The stringers and frames are designed to help achieve structural objectives.  It sounds pretty complicated, and it is!  We have had plenty of experience building hard chine river boats with the "stitch and glue" method where temporary wire is used to hold the boat together until you use seam tape to hold the boat together permanently.  So we are learning a lot right now.  The templates that came with the plans are complicated, as are shown in the following pictures.  We transfer them to the plywood using transfer paper.


Thursday, October 16, 2014

Today the jig is done, and two of the temporary frames are in place.  Other frames will be made when the Okumi plywood arrives, hopefully today or tomorrow.  The first shipment of plywood,the Meranti-Hydrateck, has arrived, fifteen sheets worth.Four very long stringers have been cut outof the new plywood.  Two are 17 feet long.Since the plywood is so pricey, it is "measure and then measure again" before cutting in order to waste as little wood as possible.
Now we are at a standstill until the Okumi plywood gets here.

The top picture is the jig and the bottom is the transom cut out.

Monday, October 13, 2014

     Big day today, with the UPS man delivering piles of stuff!  Plastic staples, staple gun (this is a new idea for us, but supposed to be a good way to go), fiber glass resin and cloth and a few more odds and ends arrived.  Now all we need is the plywood so we can start actually building something besides frames.  Anyway, the wood should be arriving sometime this week.  This is one of the difficulties with building boats in Montana.  You have to order most of your materials and then wait for it to arrive.

Sunday, October 12, 2014

The beginning-the boat building project

     We have always had a fascination with boats and boat construction, and have built several boats over the years.  Since we like the lines of the Maine lobster boats, we saw the pictures of the Outer Banks 20 and decided on this design.  This boat is designed by Graham S. Byrnes, of B & B Yacht Designs.  The complexity of this boat will be the culmination of all our boat building adventures.
     This project started with studying and more studying of the plans, and ordering of building materials.  We are using exotic marine plywood such as Okumi and Meranti.  This will help to keep the boat light, but strong.  Now we wait for the delivery of these materials!